It wasn’t easy for me to remove this car seat, but I still do it to keep my car seat clean for my baby’s health.
If you are an inexperienced and new mom, this car seat removal process will definitely help you out. It’s a small task but essential. These skills can make your parenting journey smoother.
Browse this Post
Why Is It Important To Clean Car Seats?
Cleaning the car seats is not only important to make your car look good but also very important.
It’s not just about looks; It’s also about keeping car parts healthy and ensuring your car’s interior lasts longer. Let me break it down for you:
First off, Hygiene Matters,
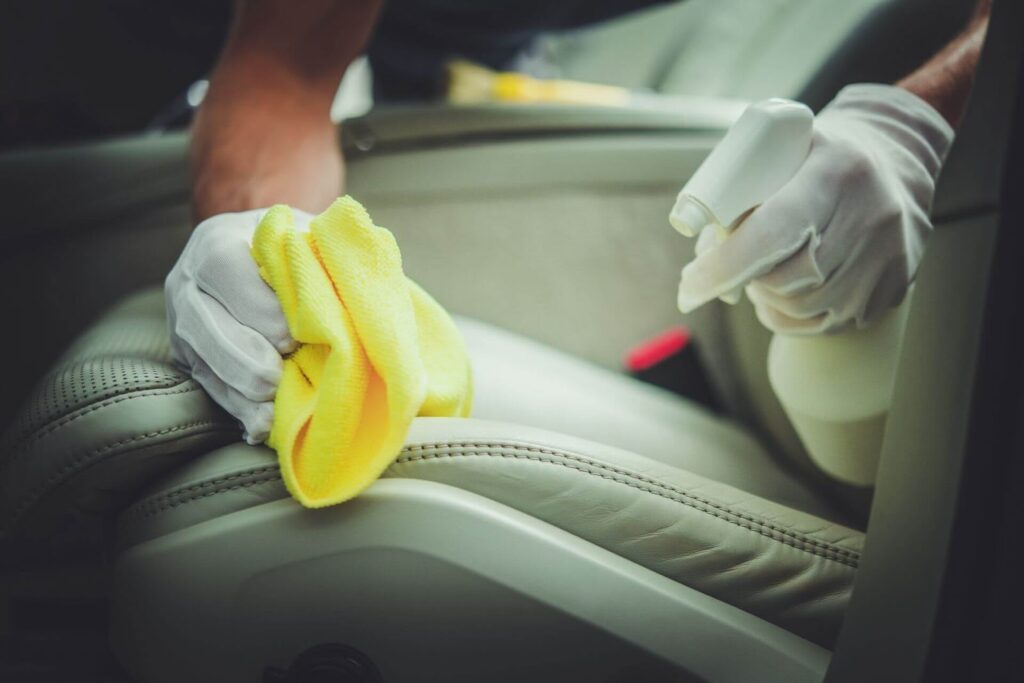
When car seats are not cleaned on time, dirt, bacteria, or allergens get a chance to settle in your car. Not cool, right? So regular cleaning is like a health check for your car, creating a clean, safe space for you and your kids.
And let’s talk about that smell. Spills and messes can leave your car smelling not as fresh. Regular cleaning is the antidote to that funky smell, making your drive a more pleasant experience.
Now, about the Longevity of the car interior,
Dirt and germs act as minor irritants, causing your car seat to wear out quickly. Regular cleaning helps remove these troublemakers, preserves materials, and makes your car’s interior last longer.
People appreciate a car that looks good inside and out. So, maintaining that cleanliness is an investment in the future value of your ride.
Lastly, Comfort and Aesthetics,
Clean car seats make everything better. It’s about your driving experience. Who doesn’t want tidy interiors to contribute to a comfortable ride?
Also, boasting a clean car is like a personal statement. It shows you care about the details, and it can increase your satisfaction with your car.
Read more: How To Get Mold Out Of Car Seats? 3 Easy Steps

Remove Car Seat Covers With This Step-By-Step Guide
Car seat covers may need to be removed depending on the specific design of your car seats, but here is a simple step-by-step process you can follow:
Step 1- Gather Your Tools
When it comes to removing and washing your car seat covers, having the right tools on hand can make the process go much smoother.
The specific tools you need may vary depending on the model of your car and the type of seat in your car. Here’s a simple list to get you started:
- Screwdriver Set: A set of screwdrivers of different sizes and types will help if your car seat is secured with screws that need to be removed.
- Trim Removal Tools: Plastic or nylon trim removal tools are useful for loosening clips or panels without damaging your vehicle’s interior components.
- Needle-nose Pliers: Useful for reaching tight spaces or grabbing small components. If there are clips or fasteners that require some precision, needle-nose pliers can be a great help.
- Socket and Ratchet Set: If your car seat is secured with bolts, a socket and ratchet set will make removing them much easier.
- Allen Wrench Set: Some car seats use hexagonal bolts, and an Allen wrench set is essential for loosening or tightening these bolts.
- Buckets and cleaning supplies: To wash the seat cover, you will need a bucket, mild detergent, and a soft brush or sponge. Make sure the cleaning supplies are suitable for your seat cover material.
- Lint roller or vacuum cleaner: Any loose dirt, crumbs, or pet hair will need to be removed from the seat cover before washing.
- Towel or microfiber cloth: To dry seat covers after washing and before reinstalling.
- Gloves: Protect your hands from any dirt or cleaning agents you may come in contact with during the process.
- Camera or smartphone: Taking pictures before and during the process can be helpful for reference when reinstalling the seat cover. This is especially useful if there is a complex process or a specific arrangement of components.
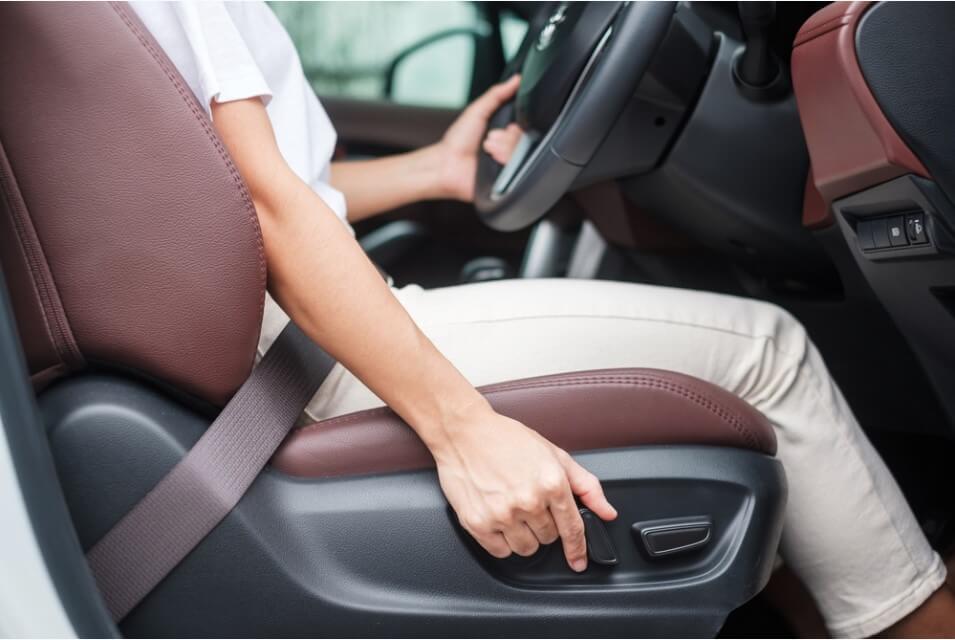
Step 2: Adjust the Seat Position
Adjusting the car seat position is an important step to ensure you have optimal access to the covers and can reach all areas comfortably to remove them. It can adjust the back or front seat to create enough space for you to work comfortably.
Step 3: Remove the Headrest Covers (if equipped)
If your car seat has headrest covers, gently pull them off. Some headrest covers may have zippers or Velcro closures, so check these before applying force. Follow these steps:
- If the headrest cover has a zipper, locate the zipper pull tab. Hold the pull tab and gently unzip the cover.
- In the absence of zippers, check for velcro closures. If the headrest cover has Velcro, gently pull it apart to release the cover.
- If there are no zippers or Velcro and the headrest covers only extend over the headrest, use gentle force to pull them off.
- Once the closures are undone or if you apply enough force to release the cover, carefully pull the headrest cover away from the headrest. Be careful with any seams or stitches to avoid tearing the cover.
Step 4: Locate and Remove the Fasteners
Locate the fasteners securing the seat cover. It can be screws, bolts, or clips. Use appropriate tools to remove them, such as a screwdriver, socket set, or trim removal tools.
Step 5: Separate the Straps or Clips
To detach the seat cover securing straps or clips, follow these steps:
- Turn the seat upside down or tilt it back to expose the underside. Check for any straps, clips, or other fastening mechanisms securing the seat cover.
- Locate the straps or clips that attach to the seat cover. They can be secured to the seat frame or other anchor points under the seat.
- Depending on the design, you may need tools such as a screwdriver or pliers to release the straps or clips. Some may have a simple release mechanism that can be done by hand.
- Carefully separate the straps or unclip the clips. Follow the path of the strap or clip to release it from its anchor points.
- Pay attention to how the straps or clips are configured. Note the order and specific anchor points. This information will be valuable when you reinstall the seat cover.
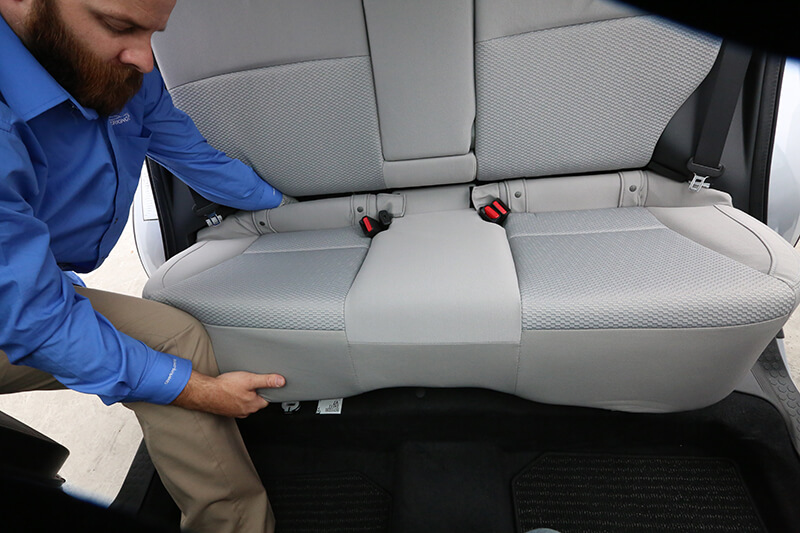
Step 6: Remove the Seat Cover
Once all fasteners, straps, and clips are separated, carefully remove the seat cover. Start at one end and work your way around, making sure you don’t damage the cover or the seat itself. Here is the process:
- Stand or kneel next to the seat so you can easily access the entire seat cover.
- Start peeling back the seat cover from the starting point. Work slowly and carefully to avoid tearing the cover. If the cover is snug, you may need to apply gentle pressure to release it.
How to Wash the Car Seat Covers
Car seat covers may vary depending on the material they are made from. Below are general guidelines for washing different types of car seat covers after removing them from the car:
Cloth Seat Cover
- Check the care instructions: Look for the care labels on the seat covers. Follow any specific instructions provided by the manufacturer.
- Vacuum: Use a vacuum cleaner to remove loose dirt and debris from the seat cover. This helps prevent dirt from becoming embedded during the washing process.
- Pre-treat stains (if needed): If there are stains, pre-treat with a fabric stain remover or a mixture of mild detergent and water. Please follow product instructions.
- Machine washable: If machine washable, place the seat covers in the washing machine. Use a gentle cycle, cold water, and a mild detergent. Fasten any straps or closures to avoid tangling.
- Avoid using a dryer, as high heat can shrink or damage the fabric. Instead, air-dry the seat covers by laying them flat or hanging them in a well-ventilated area.
Leather Seat Cover
- Vacuum: Use a vacuum cleaner with a soft brush attachment to remove loose dirt.
- Wipe with a wet cloth: Dampen a soft cloth with water and a mild soap. Wipe the leather seat covers, focusing on any dirty areas. Avoid using excess water.
- Dry immediately: Dry the seat cover immediately with a clean, dry cloth to avoid water stains.
- You can apply a leather conditioner to keep the leather supple and prevent drying conditions. Please follow product instructions. (optional)
Vinyl Seat Covers
- Vacuum: Remove loose dirt and debris using a vacuum cleaner.
- Wash with a mild soap solution: Mix a mild soap solution using a few drops of dish soap in water. Wipe the vinyl seat cover with this solution with a sponge or soft cloth.
- Rinse and dry: Wipe the seat cover with a clean, damp cloth to remove soap residue. Dry thoroughly with a clean, dry cloth.
Neoprene seat cover
- Shake off debris: Remove the seat covers and shake them to remove loose dirt and debris.
- Hand wash or machine wash (if allowed): Check the care label. If machine washing is permitted, follow instructions. Otherwise, wash your hands in a mild detergent solution.
- Drying: Allow the neoprene seat covers to dry in the air completely before putting them back on the seat.
What Should One Do After Washing The Car Seat Cover?
Re-installation: Once the seat covers are completely dry, reinstall them on the car seat.
To reinstall the seat cover, follow the removal steps in reverse Begin by securing the cover in place, reattaching any straps or clips, and then tightening the screws, bolts, or clips.
Reattach the headrest cover (if applicable): If you removed the headrest covers, put them back in place. Make sure they are securely attached.
Adjust the seat position: Adjust the seat to your preferred driving position.
Last check: Double-check that all components are securely in place. Sit on the seat to make sure it feels safe and comfortable.
Read more: How To Assemble Baby Car Seat After Washing? The Pro Way
Wrapping Up
So, there you have it. Always follow the manufacturer’s instructions or refer to your vehicle’s owner’s manual for specific instructions on removing and reinstalling the seat cover, as the process may vary depending on the make and model of your vehicle.
Taking your time and being gentle during the removal process will help preserve the integrity of both the seat cover and seat.
Keeping those car seats clean is more than just a chore. It’s a small effort that goes a long way in keeping your car healthy, lasting, and looking good. It’s time to show those seats some love.
More Resources
Can You Feed A Baby In A Car Seat?
How Many Types Of Car Seats Are There
My name is Olivia Brown, and I’m a New York-based blogger and stay-at-home parent. Former business executive enjoying retirement and time with kids Lily and Max. On my blog, I review things for kids and offer my honest thoughts and insights to other parents who may be having the same or similar experiences.